The first step in generating custom images for RHEL8 is to build a webserver from which custom code can be provisoned. There are several methods for installation: CD-ROM, hard drive, HMC, NFS, liveimg, and URL. With the exceptions of NFS and URL, the options are complex to enable, and generating releases is cumbersome. In this article we will use URL. dnf and yum use web ports, so this functionality should be enabled in most environments. NFS uses a large range of ports and may not always be an option.
Build a Virtual Machine
Using the platform of your choice, construct a VM. This VM must have an optical drive or the ability to mount DVD/ISOs as optical media. The VM must also have a virtual console. Here are the requirements:
| Option | Value |
|---|---|
| bios | bios/uefi |
| vcpu | 2 |
| vmem | 2048MB |
| network | internet capable |
| storage | 128GB (*da/disk0) |
| disk | any type |
| cdrom | RHEL8 Binary DVD |
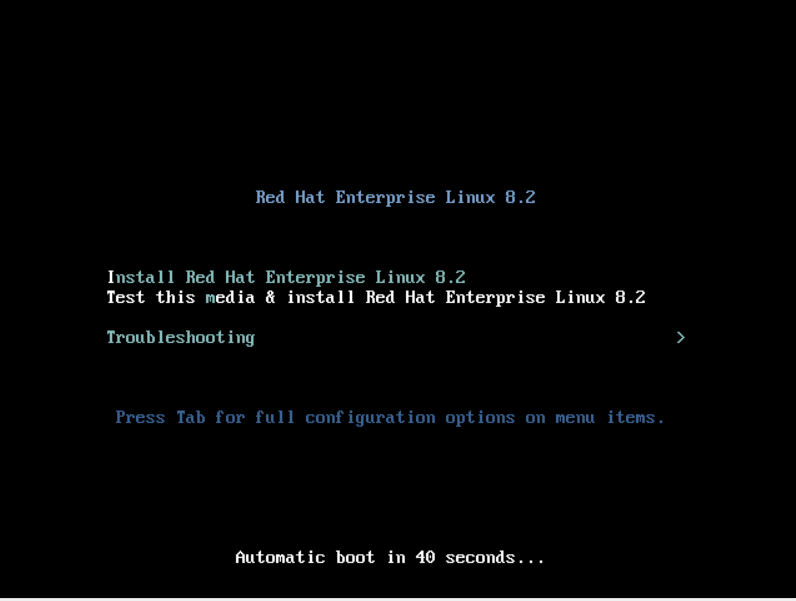
Once configured, power on the VM and you should see the splash TUI in the console window after passing the BIOS/UEFI boot.
Installing the Virtual Machine
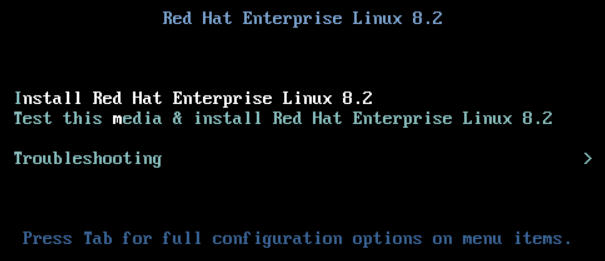
- Starting with the splash screen, you will be able to scroll up and down using the arrow keys. Select "Install Red Hat Enterprise Linux 8.#" and hit Enter.
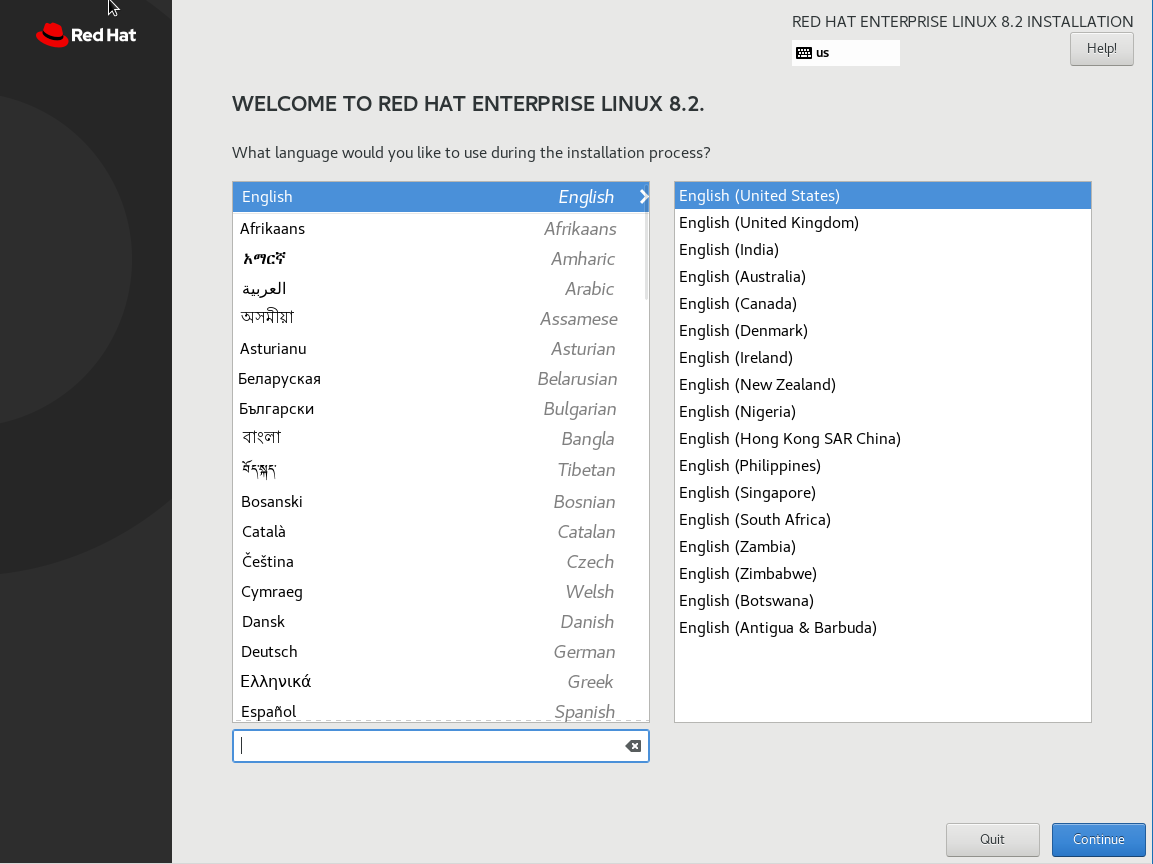
- The first panel welcomes you the the RHEL installer and allows you to set your language and keyboard. Select what is appropriate for the installation, and select "Continue".
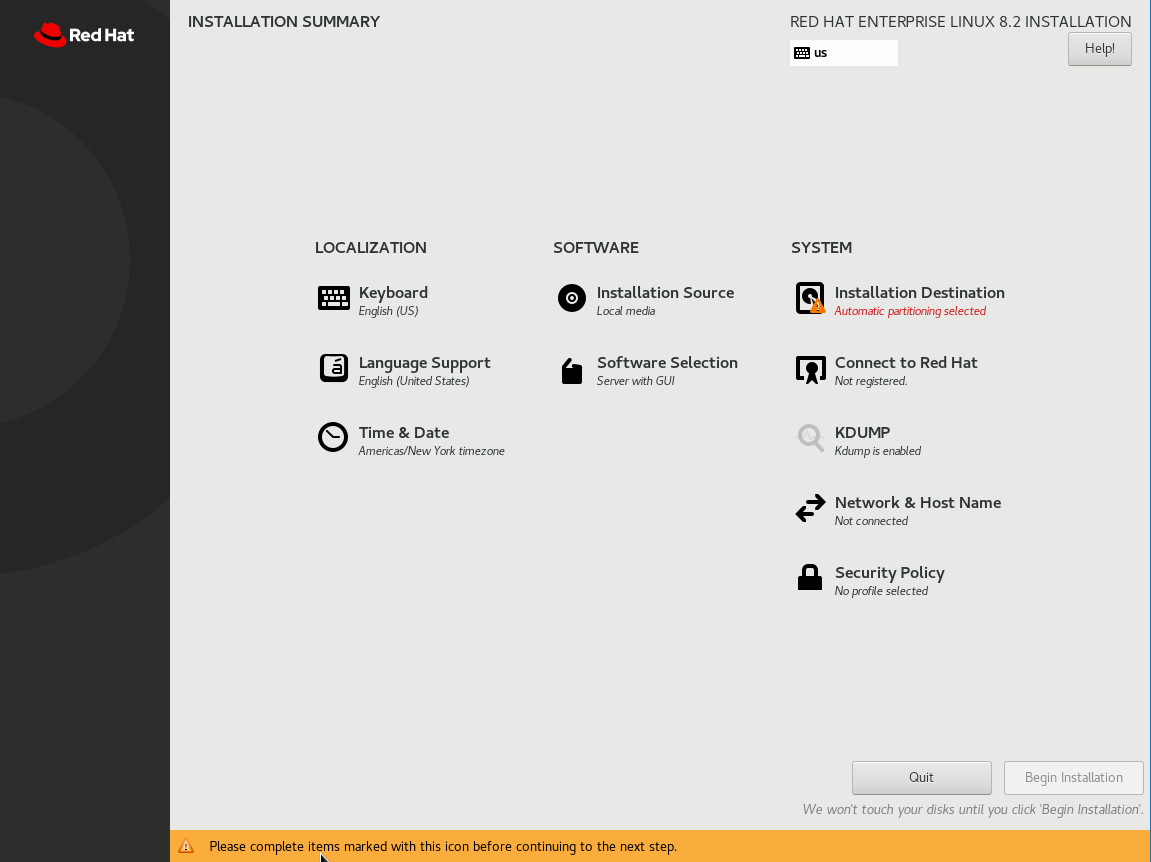
- Once the language is set, the main configuration screen will display.
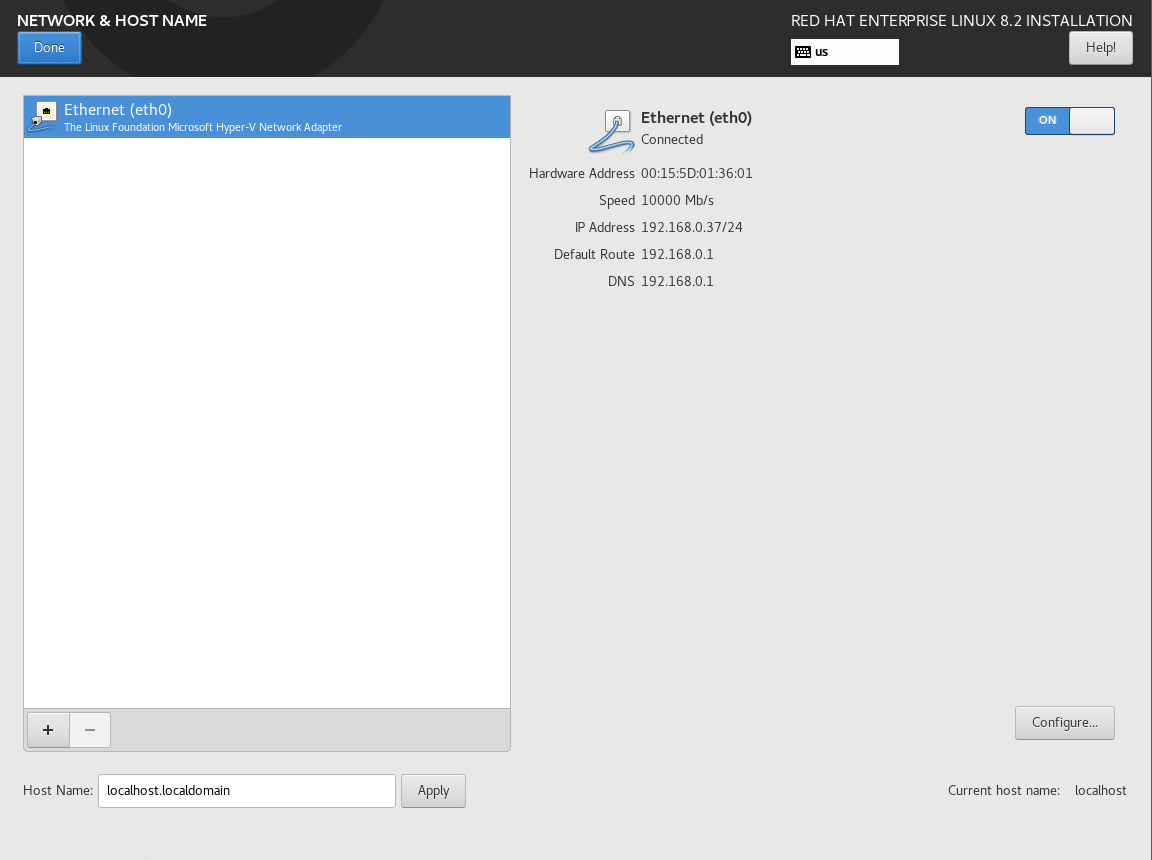
- Select "Network & Host Name" from the lower right.
- From the "Network & Host Name" panel, toggle the network interface to "On". If you are on a DHCP network, the interface should now show a speed and IP configurations. Configure an appropriate hostname in the lower left, and select "Settings" for additional configuration if your VM is not on a DHCP controlled subnet. Select "Done" in the upper left when complete.
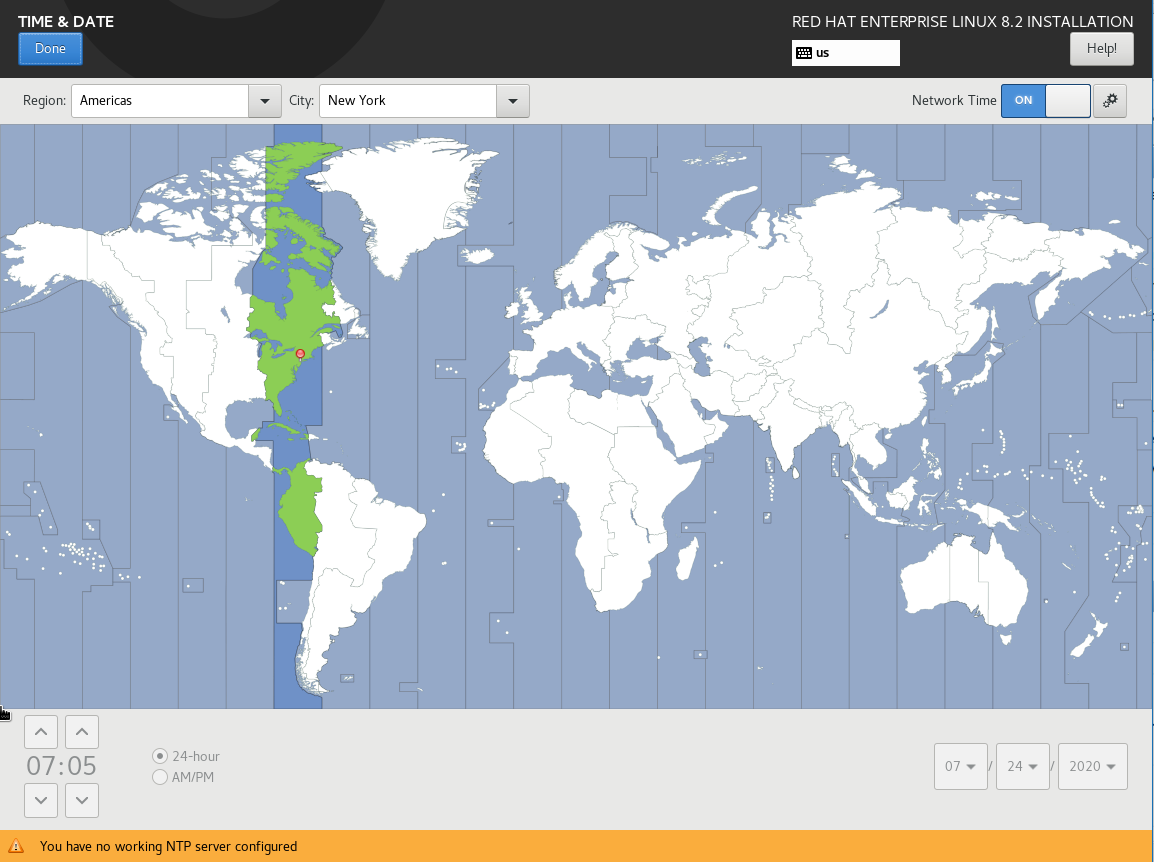
- From the main configuration screen, select "Time & Date" from the bottom of the left column.
- From the "Time & Date" panel, select the correct timezone for the installation. If the network is healthy, open the NTP config by selecting the "gears" icon next to the toggle in the upper left and close it. Upon returning to the "Time & Date" panel, the warning at the bottom will disappear.
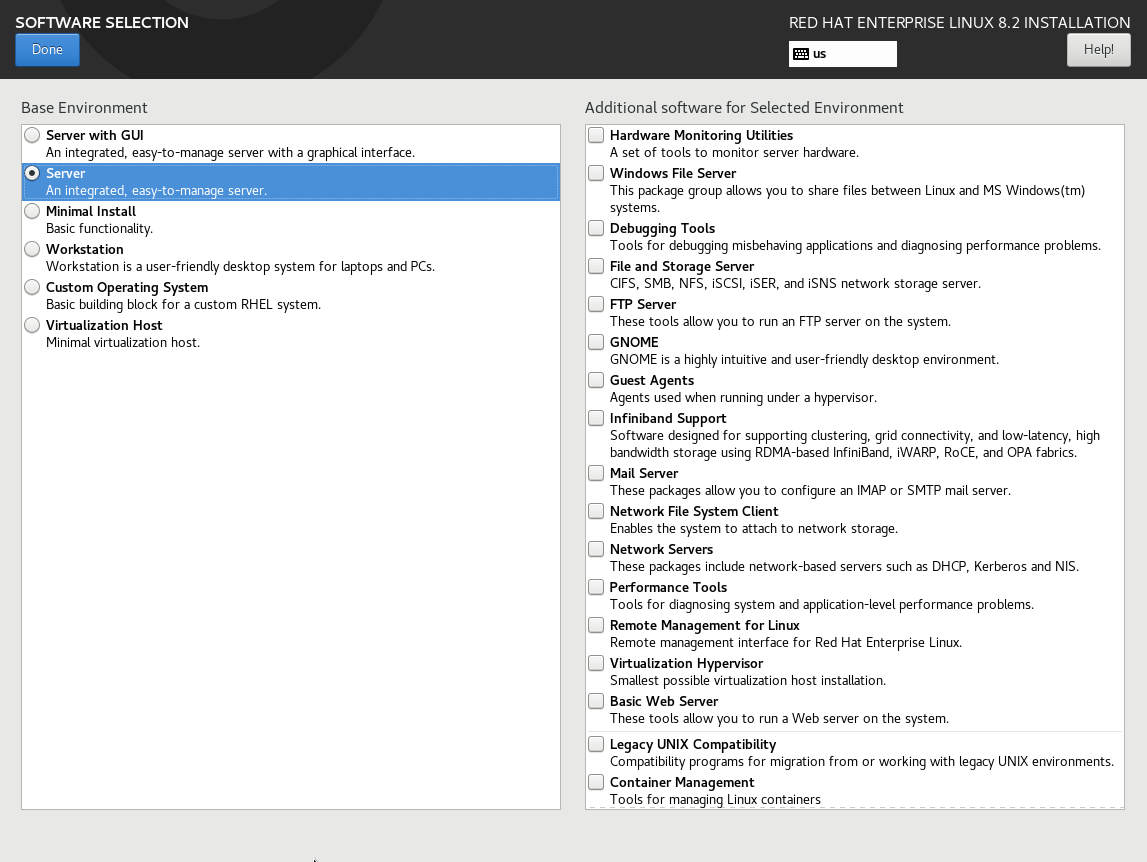
- From the main configuration screen, select "Software Selection" from the bottom of the middle column.
- From the "Software Selection" panel, select "Server" from the left column. If you are unfamiliar with RHEL, it may be benficial to select "Server with GUI". Select "Done" in the upper left when complete.
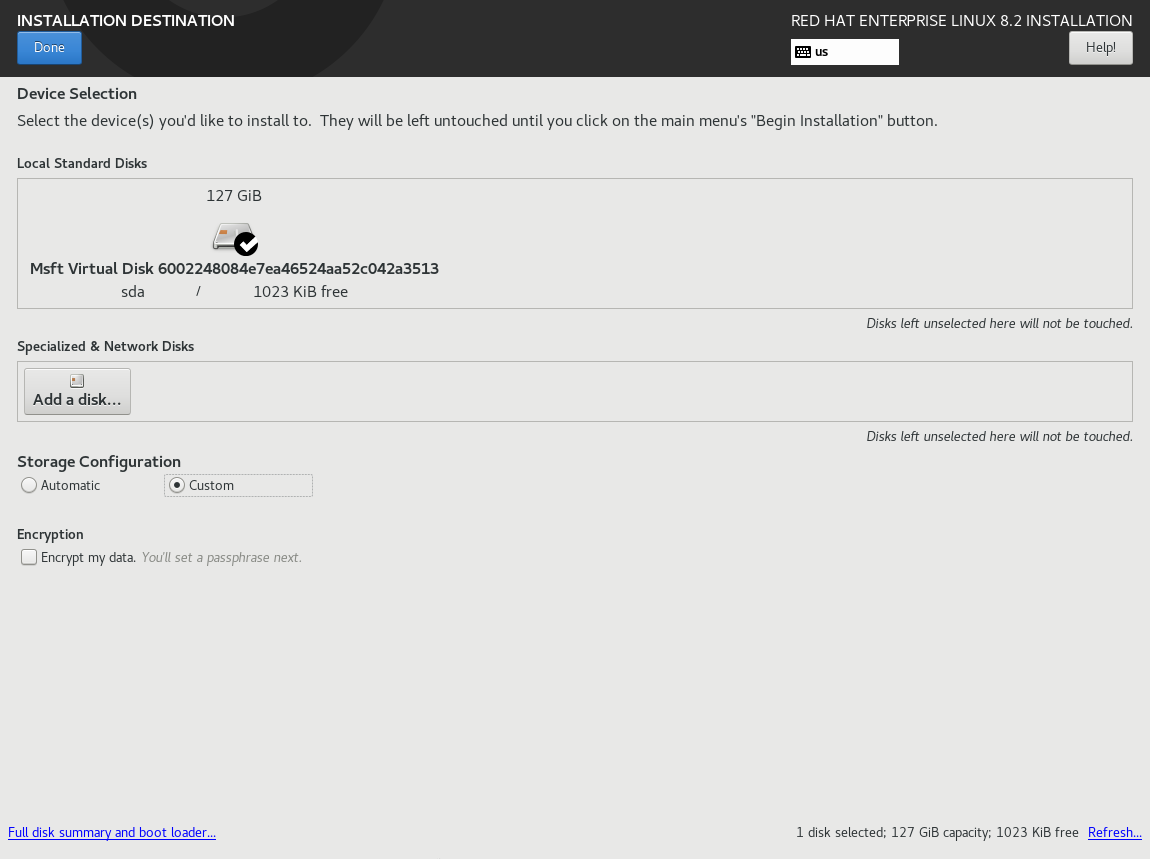
- From the main configuration screen, select "Installation Destination" from the top of the column on the right.
- From the "Installation Destination" panel, select the installation drive and check "Custom" for the "Storage Configuration". Select "Done" in the upper left when complete.
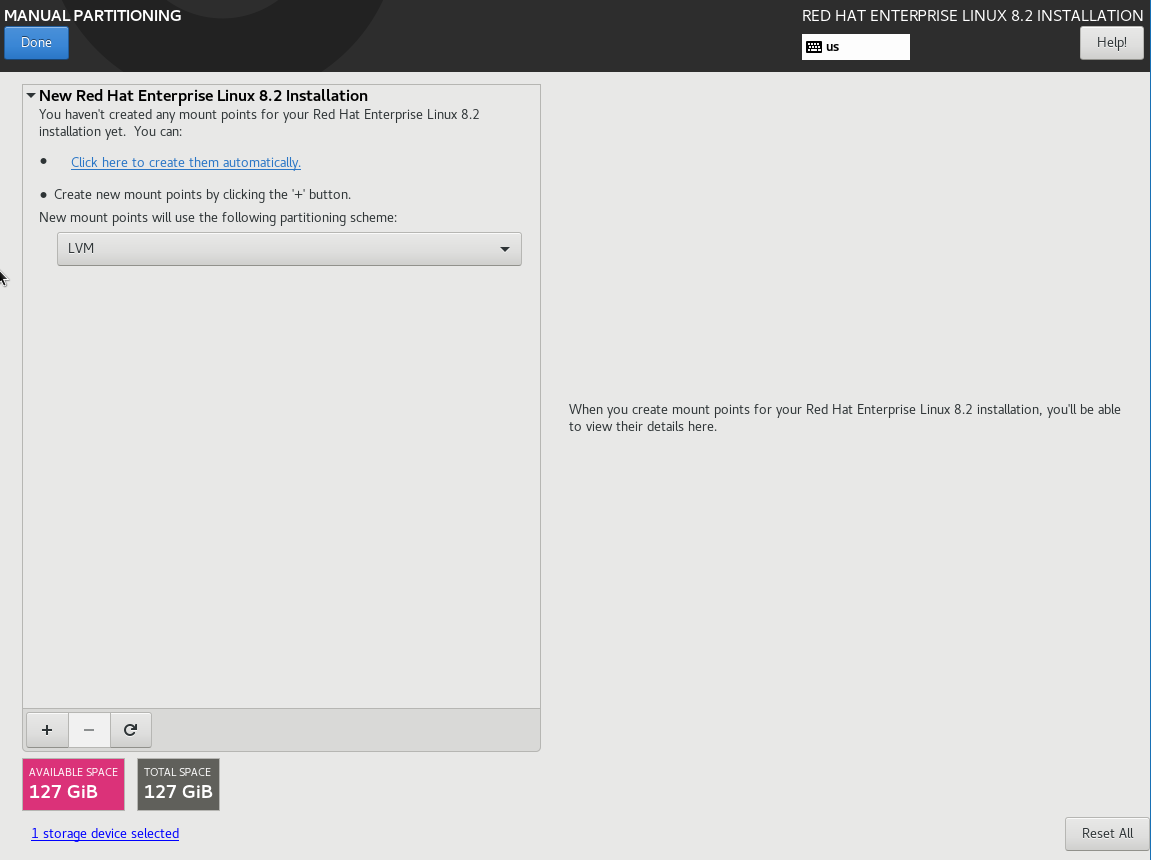
- The "Manual Partitioning" panel will pop-up instead of the main configuration screen.
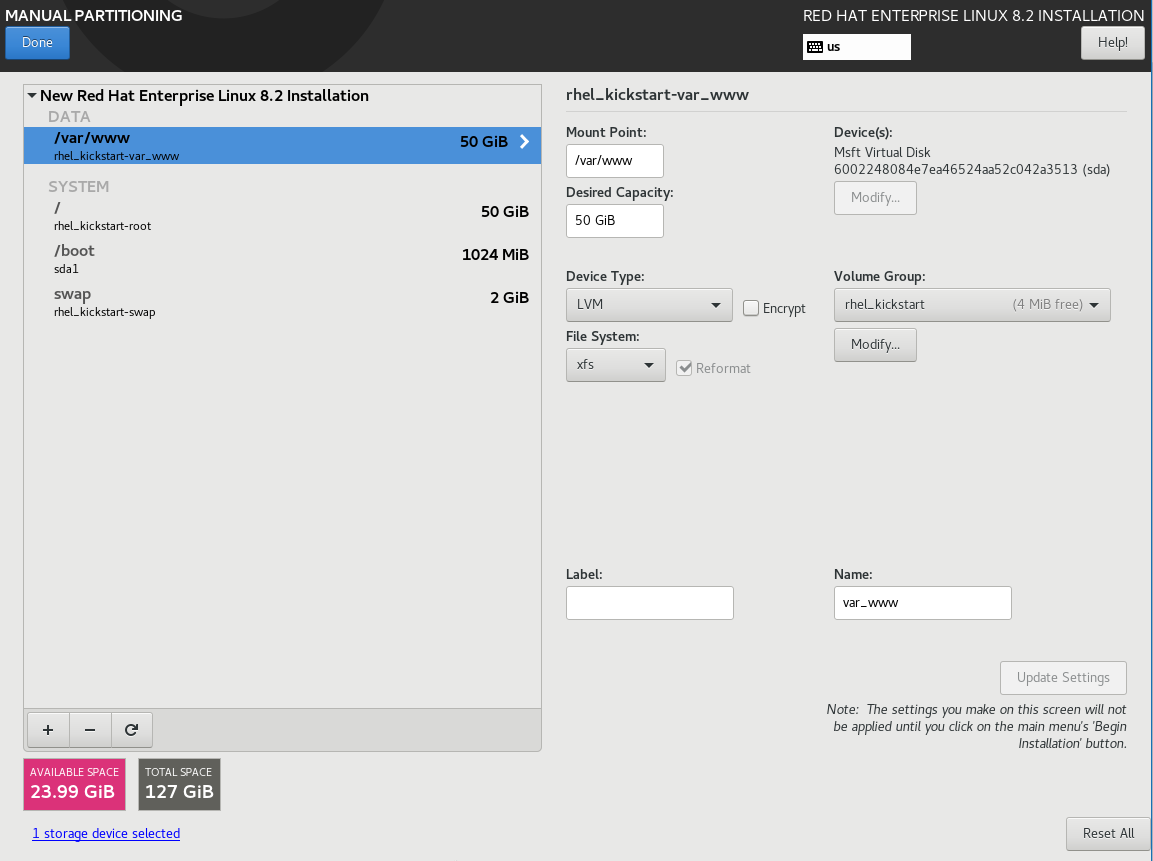
- From the "Manual Partitioning" panel, select the "Plus" widget in the lower left to add partitions.
- Add system partition "/" with 50GB (8GB min) of type XFS.
- Add system partition "/boot" with 1GB (1GB min) of type XFS.
- Add system partition "swap" with 2GB (0GB min) of type swap.
- Add data partition "/var/www" with 50GB (9GB min) of type XFS.
- Select "Done" in the upper left when complete.
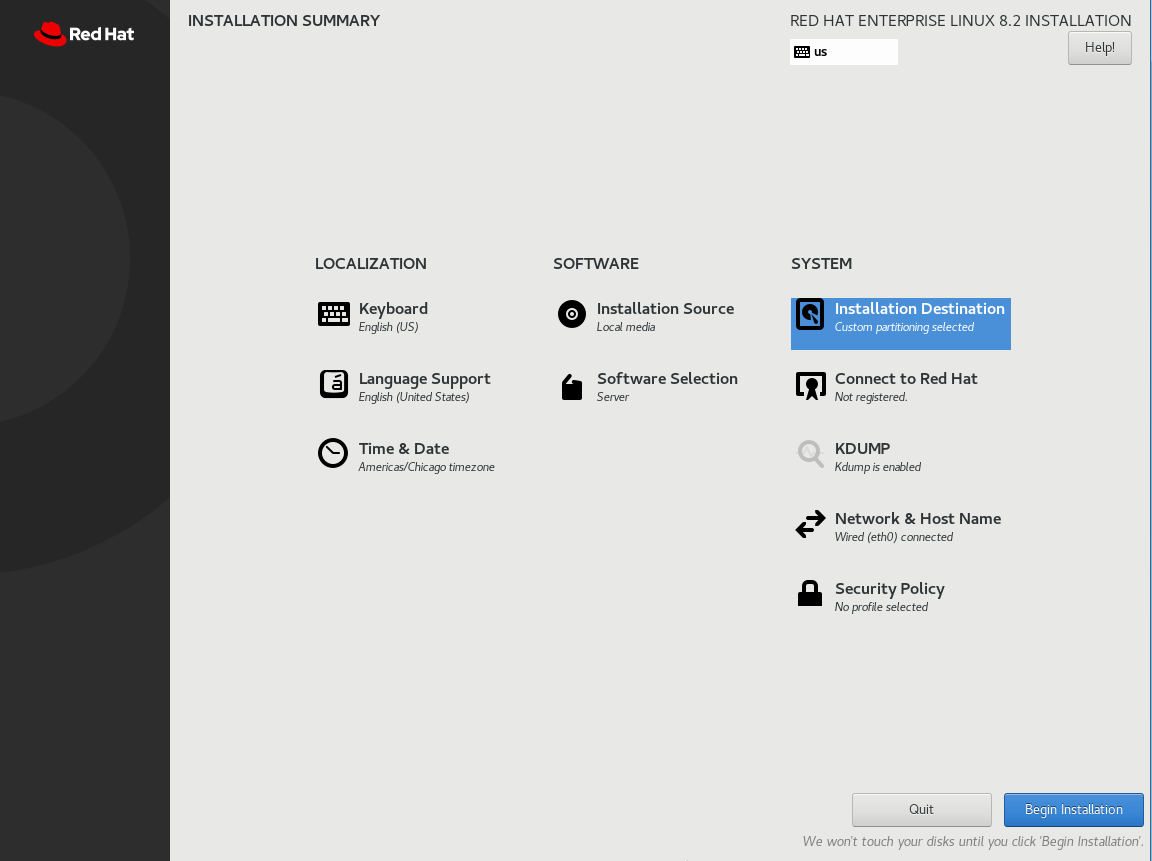
- The main configuration screen should now look like this. Select "Begin Installation" in the lower right.
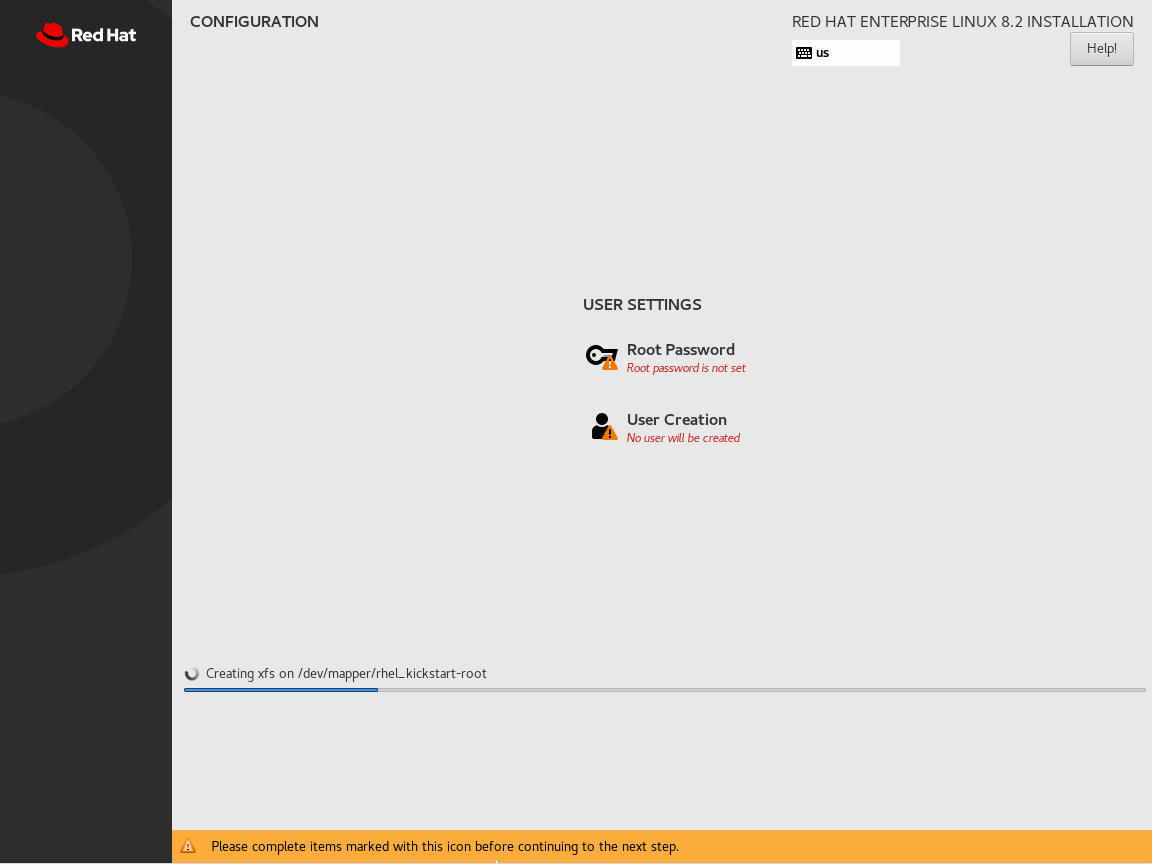
- Once the installation starts, the "Configuration" panel will open.
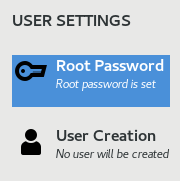
- Select "Root Password" to set the initial password, and optionally, create a user and set its password.
- Once the installation is complete, select "Reboot" in the lower right of the screen.
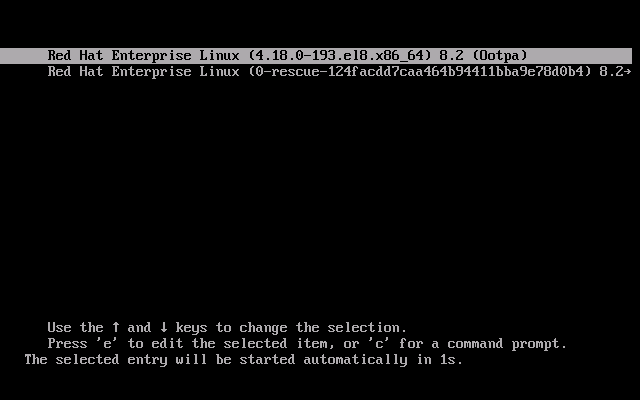
- The rescue screen will display (very briefly), and the installation will automatically boot.
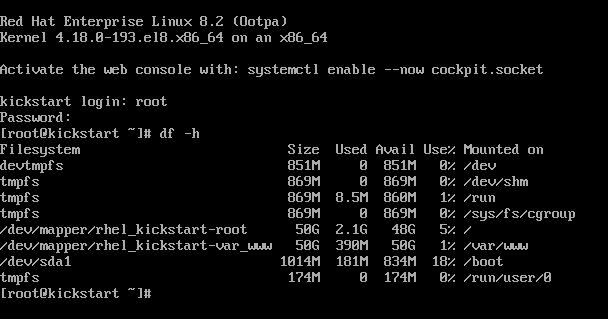
- Shortly afterwards, the boot prompt will display, and you will be able to login as root.
- Once logged in, verify the disk setup.
- The installation is complete.
Conclusion
Now that the server is installed, we can start provisioning the kickstart resources. Continue reading in Provision a Kickstart Server with RHEL8 - Part 2


