Now that we have the kickstart server completed, we can add a new RHEL8 kickstart pattern to the web server. We will then be able to install our new RHEL8 VM. The VM profile was completed in the previous article, Provision a Kickstart Server with RHEL8 - Part 2.
Kickstart Profile
- Login to the kickstart server using ssh or the console.
- Create a starter kickstart configuration. These can get complex, but this will be a good initial configuration.
vi /var/www/html/rhel8 - Add the drive formatting to
/var/www/html/rhel8We will formatsdain this example. The drive name will change based on the hardware or virtualization that is present. It could besda,hda,vda, orxda. Change it to what is correct for your setup.clearpart --all zerombr part /boot --fstype xfs --size=1024 --asprimary --ondisk sda part pv.1 --fstype="lvmpv" --ondisk=sda --size=1 --grow volgroup rootvg --pesize=4096 pv.1 logvol / --fstype=xfs --size=8192 --name=rootlv --vgname=rootvg logvol /home --fstype=xfs --size=2060 --name=homelv --vgname=rootvg logvol /var/www --fstype=xfs --size=4096 --name=wwwlv --vgname=rootvg logvol swap --size=1024 --name=swaplv --vgname=rootvg - Add the network hosted install media details. Replace {IP} with the IP address of the kickstart server. In my example 192.168.0.37
install url --url=http://192.168.0.37/x86_64/8/2/BaseOS repo --name="AppStream" --baseurl=http://192.168.0.37/x86_64/8/2/AppStream - Add the keyboard and system language as is desired for this installation. In this case, I've selected US english.
keyboard --vckeymap=us --xlayouts='us' lang en_US.UTF-8 - Specify the network configuration of the VM. Because I'm using DHCP this is a simple configuration. Static IP configurations are more complex. I'll include the static IP setup as a comment in the below code.
network --onboot yes --bootproto=dhcp --activate --hostname=rhel8 --activate # network --onboot yes --bootproto=static --ip=192.168.0.38 --netmask=255.255.255.0 --gateway=192.168.0.1 --nameserver=192.168.0.1 --hostname=rhel8 --activate - Set a root password. In this case the password is set to the word Insecure with a capitalized "i".
rootpw "Insecure" - Enable the initial setup application for the first boot.
firstboot --enable - Set up the system without the graphical option. This can be overridden in the package section by selecting a graphical option.
skipx - Enable time management.
services --enabled="chronyd" - Set an appropriate time zone as is desired for this installation. I'll select CST6DST, but you can adjust as is desired.
timezone America/Chicago --isUtc - Extend the firewall to allow
httpdtraffic.ssh,cockpit, anddhcpv6-clientare enabled by default.firewall --enable --http - Add a
%presection so we can do some scripted actions before the installation begins. We will formatsda, in this example. The drive name will change based on the hardware or virtualization that is present. It could besda,hda,vda, orxda. Change it to what is correct for your setup.%pre dd if=/dev/zero of=/dev/sda bs=1M count=1000 %end - Add a
%packagessection to load custom package groups or individual packages.%packages @base @system-tools httpd %end - Add an
%addonsection to select a security profile. In this case we are using PCI-DSS.%addon org_fedora_oscap content-type = scap-security-guide profile = xccdf_org.ssgproject.content_profile_pci-dss %end - Add a second
%addonsection to configure thekdumputility.%addon com_redhat_kdump --enable --reserve-mb='auto' %end - Add an
%anacondasection to set some user password policies.%anaconda pwpolicy root --minlen=6 --minquality=1 --notstrict --nochanges --notempty pwpolicy user --minlen=6 --minquality=1 --notstrict --nochanges --emptyok pwpolicy luks --minlen=6 --minquality=1 --notstrict --nochanges --notempty %end - And lastly, add a
%postsection to run some commands. In this case, we are adding a simple webpage and enabling the webserver to start after the system comes up.%post echo -e "<html>welcome to rhel8</html>" > /var/www/html/index.html systemctl enable httpd.service %end - Save the file and you should be able to see it from your web browser when you navigate to the kickstart server's URL. In my example, the kickstart server is at 192.168.0.37, so the URL is:
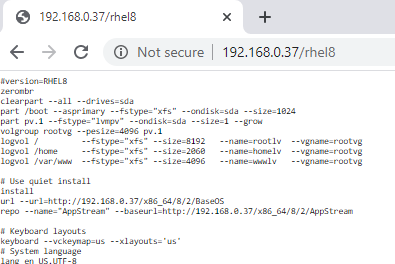
http://192.168.0.37/rhel8The browser should display (truncated):
Installing RHEL8 from Kickstart
- Verify that we have the following requirements met:
- Kickstart pattern hosted on a web server.
- Installation DVD/ISO repositories hosted on a web server.
- Virtual machine created, per the previous installment of this article, Provision a Kickstart Server with RHEL8 - Part 2 I'll refer to this VM as
rhel8in the following steps.
- Depending on the virtualization in use, the following operations may vary in order. Regardless, do the following steps in the order appropriate for your virtualization type.
- Open a console to the
rhel8VM. - Mount either the
RHEL8 Binary DVDor theRHEL8 Boot DVDto therhel8VM. The guide for obtaining either is in the previous article, Downloading Red Hat Enterprise Linux 8. - Power on the
rhel8VM and boot from the RHEL8 DVD/ISO.
- Open a console to the
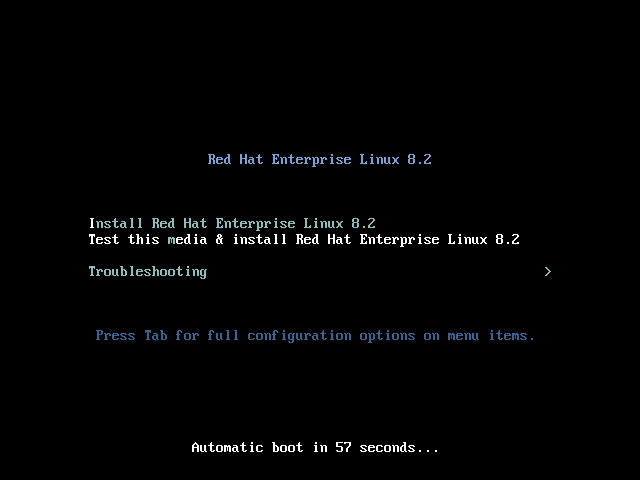
- Immediately you will see the RHEL installation and recovery TUI.
- If nothing is entered for 60 seconds, the server will boot into the manual installation setup. Before that happens, select the ESC key. The TUI
boot:prompt will appear. - Type the following to start the kickstart installation. Replace the IP with the IP address of the kickstart server. In my example 192.168.0.37
linux ks=http://192.168.0.37/rhel8My input:
If you are using static IPs, the command would be the folowing to build
rhel8VM with a IP of 192.168.0.38. Be sure to adjust the options based on your subnet configuration.linux ks=http://192.168.0.37/rhel8 nameserver=192.168.0.1 ip=192.168.0.38::192.168.0.1:255.255.255.0:rhel8:eth0:noneThe
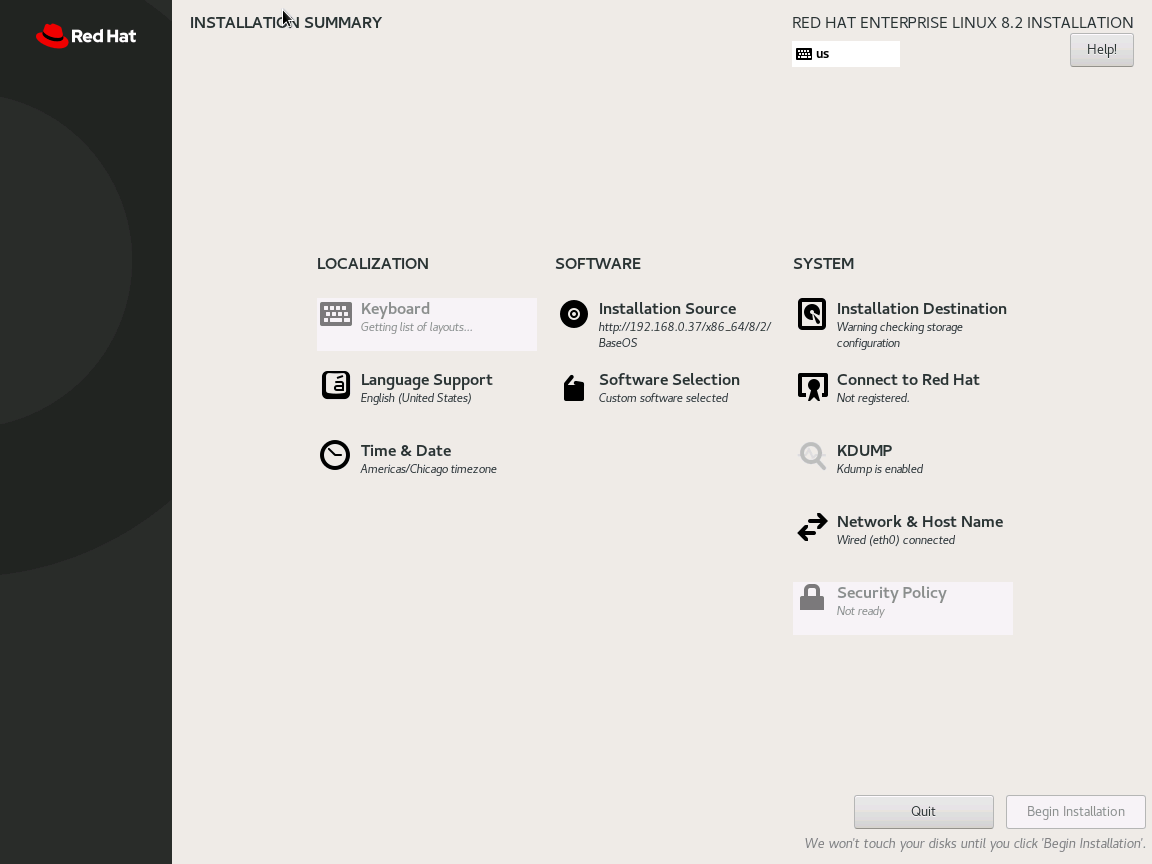
ip=syntax isip=ip::gateway:netmask:hostname:interface:none. More information can be found in the Performing an advanced RHEL installation Guide. - The main configuration panel should display after a short time.
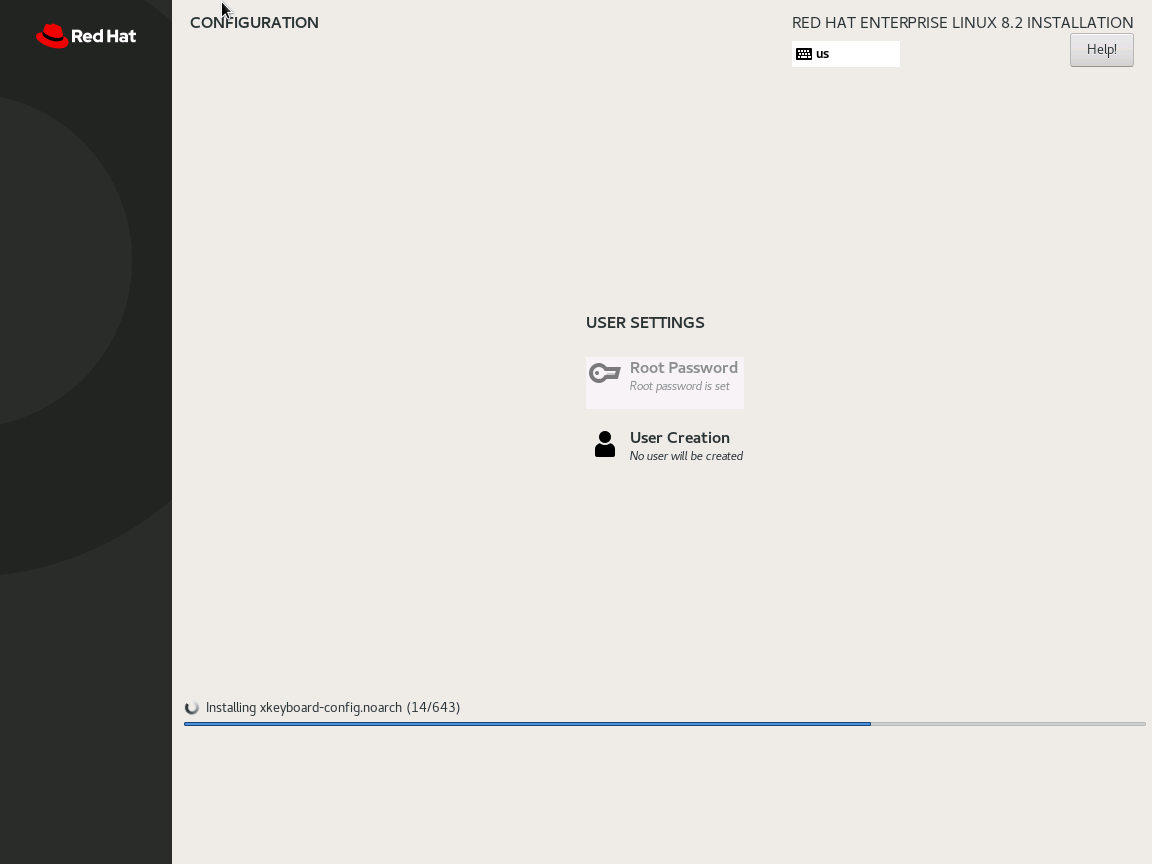
- All of the options should have been completed automatially, so the installation will begin automatically.
- When complete, the
rhel8VM should boot automatically, and the login should be displayed. If this doesn't occur, ensure the DVD/ISO was ejected after the installtion. If it was mounted, eject it and restart therhel8VM. - Now that the VM is up, let's verify the sample website is working. Open a browser window and navigate to the
rhel8VM's website. In my example it resides at:http://192.168.0.38/The browser should display:
Conclusion
Now that we have built an environment which can build and rebuild a RHEL8 VM, we have the ablity to create complex system images for specific purposes as well as simple images that can be used for a wide variety of purposes. Enjoy!
Examples in this post can be found on GitHub


